Flat AI exports are fine until you open them in Photoshop or Canva and remember: one raster plate. No subject layer. No background plate. No “move the mug without tearing a hole.” This is the handoff path I use with Image to Layers — flat J...
Flat AI exports are fine until you open them in Photoshop or Canva and remember: one raster plate. No subject layer. No background plate. No “move the mug without tearing a hole.”
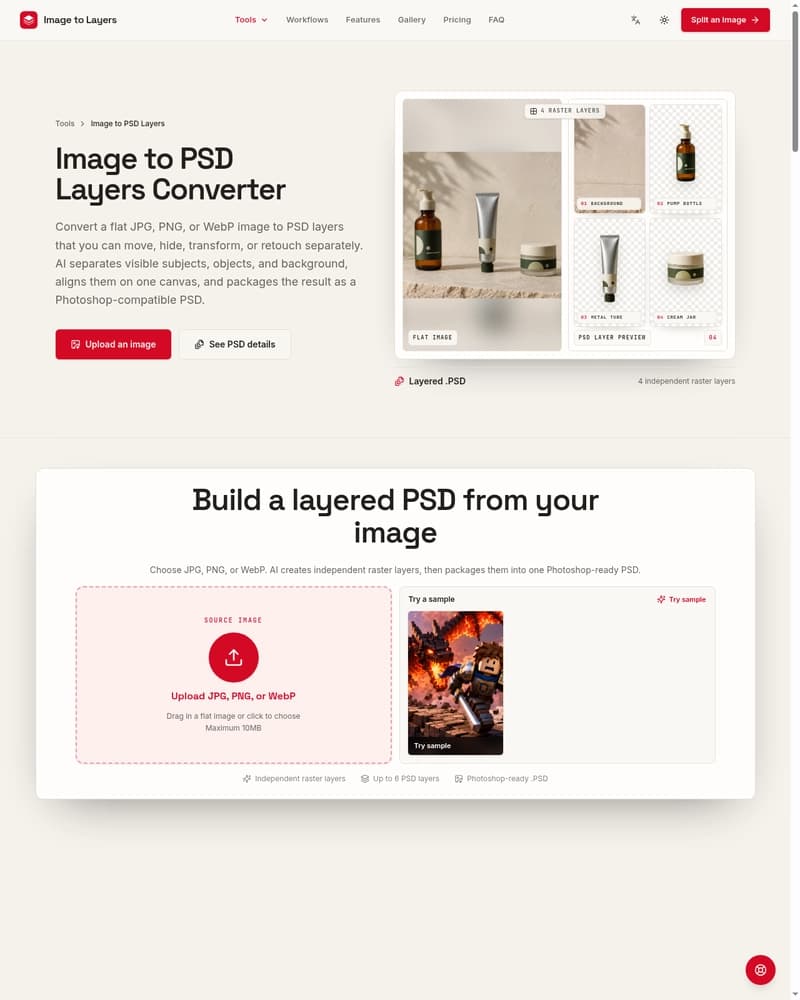
This is the handoff path I use with Image to Layers — flat JPG/PNG/WebP → Photoshop-compatible PSD or a PNG ZIP I can stage in Canva. Steps, credit math, and limits. No miracle claims.
The contract (read before you burn credits)
What you get
Independent RGBA raster layers, aligned on one canvas
A Photoshop-compatible .psd (Image to PSD path: up to 6 layers) and/or downloadable transparent PNGs
Optional ZIP of PNGs for non-Photoshop reuse
For Canva: those PNGs as normal image uploads (move / resize / hide / crop)
What you do not get
Original editable text / fonts
Vectors or smart objects from a “lost” design file
Adjustment layers, original masks, effects, or edit history
A live connection to your Canva account, or native Canva text/vector objects
Site wording is consistent across Image to PSD and Qwen pages: this is generative decomposition, not forensic recovery of a source PSD.
Upload limits: JPG / PNG / WebP ≤ 10 MB. Runs in the browser.
Path A — Direct Image to PSD
Use when Photoshop is the destination and you want a .psd out.
1. Open https://imagetolayers.org/image-to-psd
2. Upload flat JPG / PNG / WebP (≤ 10 MB)
3. Let AI build independent raster layers (up to 6)
4. Download .psd
5. Optional: grab ZIP of PNGs for Figma / other tools
Page guidance I follow:
Match layer count to composition (2–3 simple; 4–6 multi-object)
Prefer clear visual boundaries; treat hidden areas as reconstruction
After export: inspect the stack, rename/organize, refine edges non-destructively, save a working master
Credit reminder on that page: 2–6 layers → 20–60 credits (pricing rule: 1 output layer = 10 credits). Failed layer credits return automatically.
Path B — Agent Layers → PNG stack → save as PSD yourself
Use when you want a named layer plan before spend, then you’ll assemble the PSD in Photoshop (or any editor that eats transparent PNGs).
1. Open https://imagetolayers.org/ (Agent Layers)
2. Upload supported image
3. Choose Agent Layers, set count in 2–6
4. Describe the stack back-to-front (incomplete OK — Agent fills assumptions)
5. Review the named layer plan BEFORE generate
6. Generate (~1 minute per home copy)
7. Download aligned full-canvas transparent PNGs
8. Drag PNGs into Photoshop in stacking order → File → Save as PSD
Homepage FAQ says the same PSD idea plainly: export PNGs named in stacking order; drag into Photoshop (etc.) to save as PSD.
Agent extras from the tool page: composite preview + full-size aligned layers; sign-in required to restore unfinished Agent tasks.
This is my default when the flat image is an AI photo / product / portrait and I care about arguing with the plan before credits leave.
Path C — PNG ZIP → Canva as image elements
Use when the team lives in Canva, not Photoshop.
1. Run a split (Agent or dedicated Canva-editable tools)
2. Download ZIP of independent PNGs
3. Upload PNGs into Canva as normal images
4. Arrange / resize / hide pieces on the artboard
Tools on the site:
Image to Canva Editable
PNG to Canva Editable (logos, stickers, transparent assets)
Explicit non-features: does not connect to your Canva account; does not create native Canva text or vectors. Raster lettering still needs Canva text or official brand files if you need real editability.
Upstream tip: flat AI image → layers
If your source is still a prompt, the site also ships an AI Photo Generator (six models listed on that page) with cross-links into layer tools. My habit: generate flat → pick the cleanest frame → Path A or B. Do not expect the layer step to invent typography you can retype.
Gallery line I keep in mind: nothing was cut out by hand; hidden areas behind the subject get filled so the background can stand alone. That is why a PSD stack helps motion / parallax / layout — not because it resurrected a designer’s original file.
Credits checklist (before a batch)
From pricing:
Item
Site fact
Cost unit
1 output layer = 10 credits
Agent / PSD band
2–6 layers → 20–60 credits
Failures
Failed layer credits returned
Signup
20 credits = one successful 2-layer Agent; expire in 7 days; public; no commercial license
Paid packs
Starter $9.9 / Creator $39 / Studio $99 — private + commercial; credits never expire
If the PSD might ship to a client, buy a pack first. Signup results can be featured; that is on the homepage and pricing page.
VIP options (Qwen 1–10 with PNG/ZIP/PSD export; Magic auto 2–17) exist when you need higher exact counts or automatic depth — out of scope for this handoff post, but they sit on the same credit pool.
Cleanup notes (where I still touch pixels)
Site blog / tool warnings: glass, smoke, fine hair, motion blur, heavy overlap, tiny text, and very complex scenes are weak. Soft edges may span layers. I always:
Toggle layer visibility in Photoshop
Check occlusion fills on the background plate
Soft-mask hair / glass by hand if the client will zoom
Rebuild real type in the destination app when the “text” is just pixels
Try it / feedback
Pick one flat AI export you already dislike opening as a single plate. Run Image to PSD or Agent Layers on https://imagetolayers.org/, open the .psd or PNGs in your editor, and drop a comment with where the edges still need a pass. I read those — the weak-material list is more useful when it is attached to a real file.